Next to wiring, ballasting track is not a favorite part of the hobby for me. I have not been real satisfied with my earlier attempts at painting, ballasting, and weathering track. After watching several videos on this subject by Dave Frary, Joe Fugate, and Mike Confalone, I believe I am now ready to tackle this subject once again!
I am using the hidden staging section of my Wetterau Food Services Micro Layout to practice some new techniques. This allows me to practice without ruining a visible section of the layout. At least that’s the theory!!!
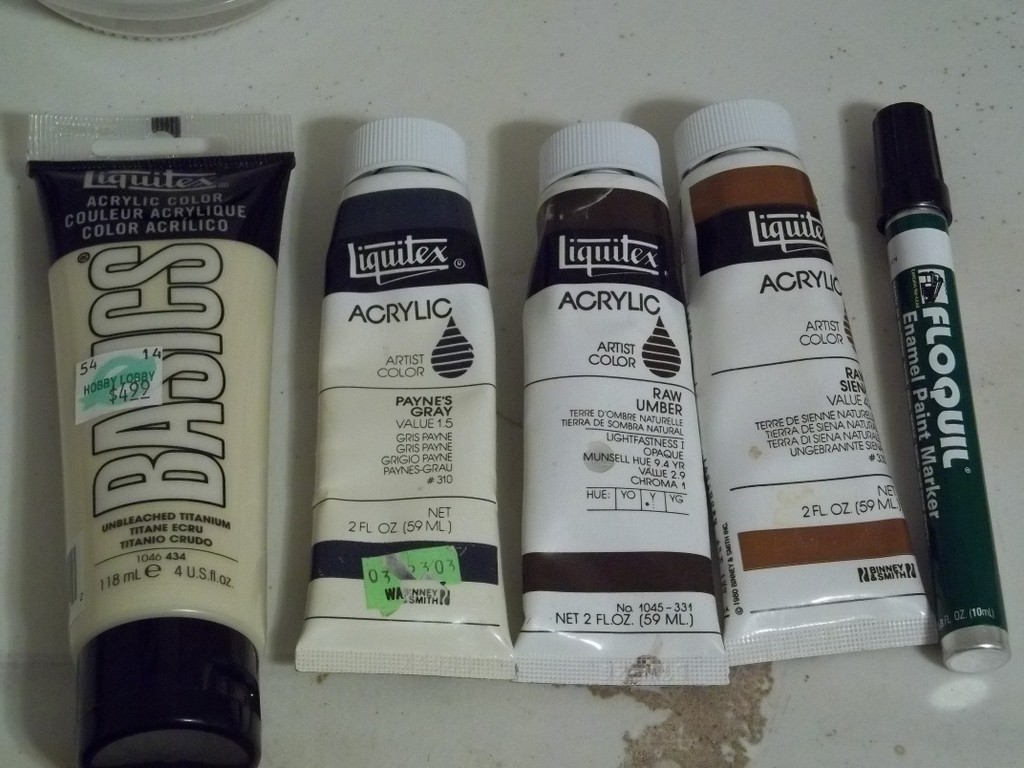
I used Unbleached Titanium, Payne’s Gray, Raw Umber, Raw Sienna, and a Rail Brown Paint Pen to paint the ties and rails.

The track sections were painted with different colors to see which color has the best look (see labels in photo).

Next, I used a Floquil Rail Brown Paint Pen to paint the rails (inside and out).

After the paint on the rails dried, I painted the individual ties a variety of colors (see labels in photo). I used full-strength paint, straight from the tube.

I really like Monster Model Works’ Diorama Dirt. I use a strainer to sift out the fine dirt (for roads and such), and the larger pieces make excellent ballast. I also noticed Woodland Scenics’ Fine Buff and Fine Gray ballast mixed together is almost an exact match to the Diorama Dirt. I used the Woodland Scenics mix for this demonstration (see photo below).


Ballast bonded in place with 70% Isopropyl Alcohol and Scenic Cement. Wait for the glue to dry overnight before moving on to the next step.

AIM Weathering Powders were used to add a dusty look to the rails and ties.

AIM Weathering Powder combinations used on each section.

Highlights added to the track with a drybrush technique. Be sure to wipe off most of the paint with a paper towel before applying to track.
Final Results:

Lessons Learned:
- The initial paint color had little impact on the final look. I like to paint this initial coat to give the rails and ties some “tooth.”
- Take your time when applying dry ballast. Be sure to keep the ballast grains off the top of the ties. If any grains float on top of the ties while applying alcohol/glue, wait until the glue is dried, then use a small screwdriver to scrape the stray grains off the tops of the ties.
- When applying weathering powders, less is more. Use a stiff bristle brush to apply the powders to the rails. Rust colors tend to be too orange for my taste. Rusty browns look more realistic to me.
- Drybrushing white highlights to the top and sides of the ties breaks up the flat look caused by the weathering powders.
Happy Modeling!
Tom
Comments
Post a Comment